 button. This
will take you to the
button. This
will take you to the The batch process will all you to send document to a group of debtors by account or claim. The batch process will allow you to send a batch of documents to the print list to be printed at a later time. You may also choose to send one letter per account or one letter per claim. Use the selection criteria to narrow the group of debtors.
From the
main screen of CollectMax, click the button. This
will take you to the ![]() screen.
screen.
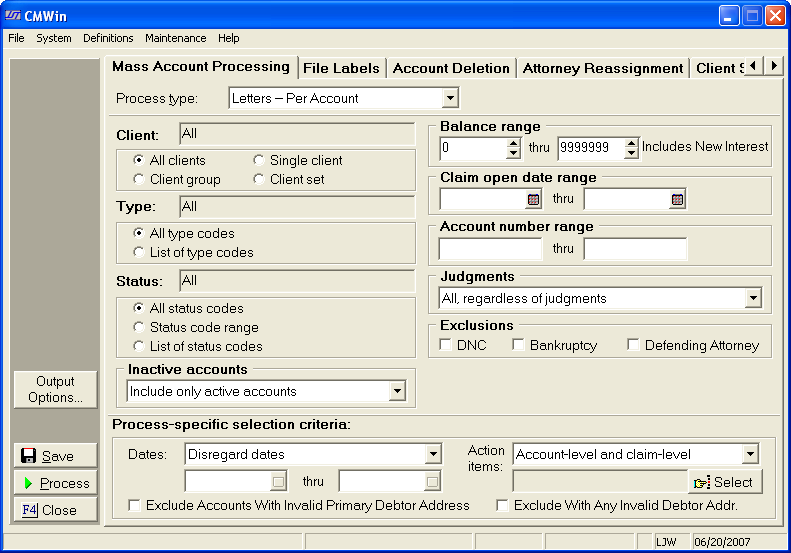
Select the
![]() by clicking the
by clicking the  button and picking Letters-Per Account or Letters-Per
Claim from the list.
button and picking Letters-Per Account or Letters-Per
Claim from the list.
You will need to select from the following criteria to get the correct group of accounts for your batch process.
Select a single client, a group of clients or all clients.
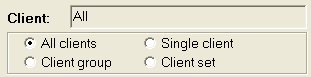
Click the radio button next to your selection.
Select all type codes, a single type code or pick more than one type code from the list of codes.

Click the radio button next to your selection.
Select a single status, a range of status', or all status codes.
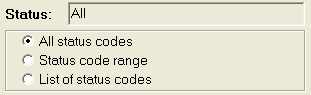
Click the radio button next to your selection.
Hint: If you only want open accounts for your batch process, select a status range from the first open status to the last open status on the list.
Select a
balance range by typing in the balance fields. You
may also use the  buttons to click to the balance you want.
Clicking
the up arrow will increase the balance and clicking the down arrow will
decrease the balance.
buttons to click to the balance you want.
Clicking
the up arrow will increase the balance and clicking the down arrow will
decrease the balance.

Hint: To select all balances, set or leave the balances at 0 thru 9999999.
Select an
open date range. You
can type the date in each field with the MM/DD/YYYY
format or click the ![]() button and select the date.
button and select the date.

Hint: To select all open dates, leave the date fields empty or select a date in the past like 1929 through today.
Select an account number range. Type in the account numbers in the fields.

Select accounts
according to judgments. You
can exclude or include only accounts with judgments or pick all no matter
if they have a judgment. Click
the ![]() button and pick from the list.
button and pick from the list.

Select the
accounts you would like to exclude. By
clicking the  box you can exclude accounts for the following
reasons.
box you can exclude accounts for the following
reasons.
DNC: Do Not Contact
Bankruptcy: Accounts with Bankruptcy Information.
Defending Attorney: Accounts that have a Defending Attorney assigned.
![]()
Select the Dates.
Disregard dates: Include no matter what date the selected action item has.
Select by Last Payment Date: Include only accounts with the last payment date within the selected range.
Select by no Payment Date: Incudes only accounts that have no date in the last payment date.
Select by action date: Included only accounts with the action date with in the selected range.
Select the
date range by typing the date or click the ![]() button and select
the date.
button and select
the date.
Select the Action Items:
Account-Level: Only include account level action items.
Claim-Level: Only include claim level actions.
Account-Level & Claim-Level: Includes both types of actions.
Claim-level Action Items are Version 2 Features.
Click the
![]() button and select the action items codes
button and select the action items codes ![]() from the list.
from the list.
Exclude Accounts:
Click the
![]() box next to the selection:
box next to the selection:
Exclude Accounts with an Invalid Primary Address: Excludes accounts whose primary debtor has the Invalid Address Box marked on the debtor tab.
Exclude Accounts with Any Invalid Address: Excludes accounts that have the invalid address box marked on any of the attached debtors.

Hint: Remember only accounts that fall into these specific criteria will be selected for the batch process. If an account in missing from the batch process, review the account to make sure it fits within the criteria you set for the batch.
For the ability to automate this batch process, see Batch Process Automation Script , a Version 7 Feature.
Select the
document, by clicking the ![]() button.
button.
The options box will appear.

Letter:
Select the document you want to send from the list by clicking the ![]() button and scrolling to find the document.
button and scrolling to find the document.
Print
List: Select the print list for your document by clicking the ![]() button and scrolling to find the print list.
button and scrolling to find the print list.
Hint: Be careful selecting the print list. If you choose a restricted print list that is restricted to another document, the process will get an error.
Add Letter to Images: Adds the letter to the Imaging section of the account after the documents have been printed.
Description:
To add
a description to the saved imaged, select a Description from the ![]() list. To
add a description, click the
list. To
add a description, click the  button.
Type:
To add a type to the saved image, select the Type from the ![]() list. To
add a description, click the button.
list. To
add a description, click the button.
Details: To add details to the saved image, enter the Details.
Note: This is a Document Management Feature. For information on obtaining this feature, please contact the Sales Department.
The lower half the of the Output Options Screen lists the document automation attached to the document.
1. Status Changes: To add this feature, change on the automation tab of the selected document's properties.
2. Action Items to be added: To add this feature, change on the automation tab of the selected document's properties.
3. Action Item Completion:
This is a Version
2 Feature. Click
the box to complete the action items used in the selection
criteria of this batch process.
If so, these changes will be made on the accounts when the documents are put on the print list not after printing.
Select the
![]() to save these options and continue with the batch process.
to save these options and continue with the batch process.
Once the
you have selected the criteria you need. Click
the
 button.
If you have forgotten to select the ![]() , the options screen will appear and prompt you to make the
selections. Then
click the
, the options screen will appear and prompt you to make the
selections. Then
click the ![]() button to restart the process.
button to restart the process.
A preview report will print listing the accounts that have been selected for the batch and the action to be taken on these accounts.
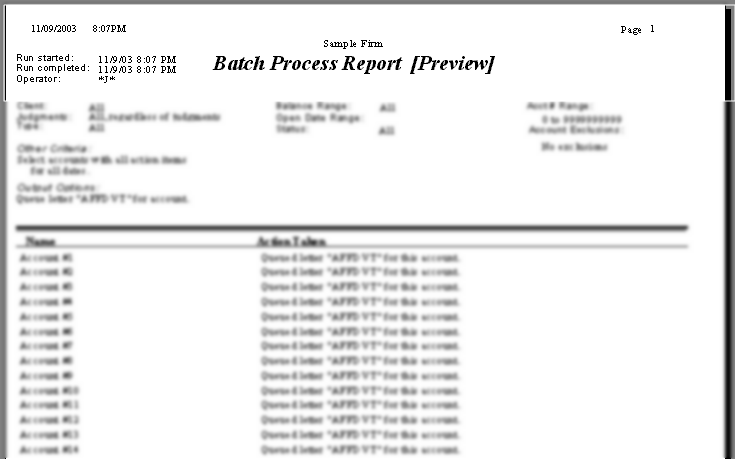
Please review these accounts. Click the X to exit the preview. A box will appear asking you if you would like to make permanent changes to the database.
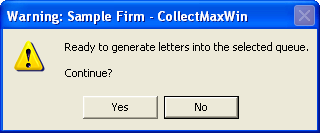
If the preview report was correct, click
the ![]() button to continue.
button to continue.
If not, click the ![]() button to
end the process and correct your selection criteria and re-process.
button to
end the process and correct your selection criteria and re-process.
If you chose to continue, you will be prompted to enter the master password.
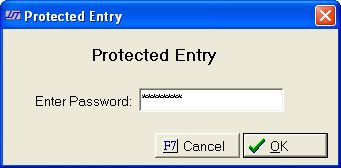
Type the password in the field and click
the ![]() . You
may also cancel the process at this time by clicking the
. You
may also cancel the process at this time by clicking the  button.
A window will appear recommending a snapshot. JST recommends a snapshot be performed before making any changes to the database.

Click the ![]() button to exit the
batch process and perform a snapshot.
button to exit the
batch process and perform a snapshot.
Click the ![]() button to continue
with the batch process.
button to continue
with the batch process.
The process will begin making the changes. After they are complete a final report will be created. You may print this report or click the X to exit the report.
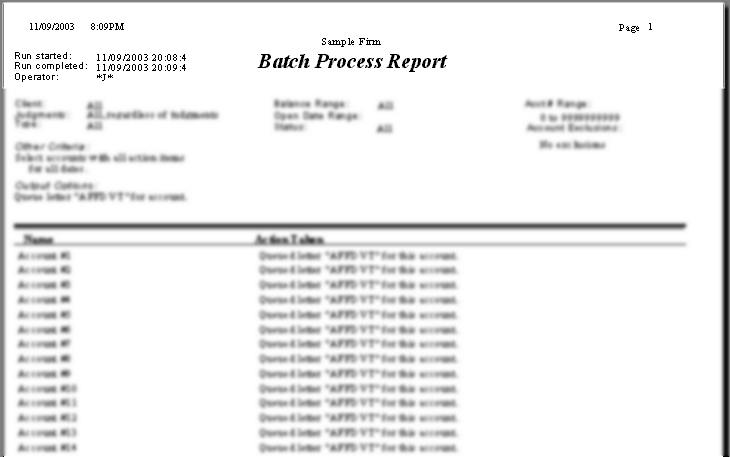
Once you have exited the final report. The
batch process is complete. Click
the  button to exit to the main screen.
See Print Lists for instructions on printing your documents.