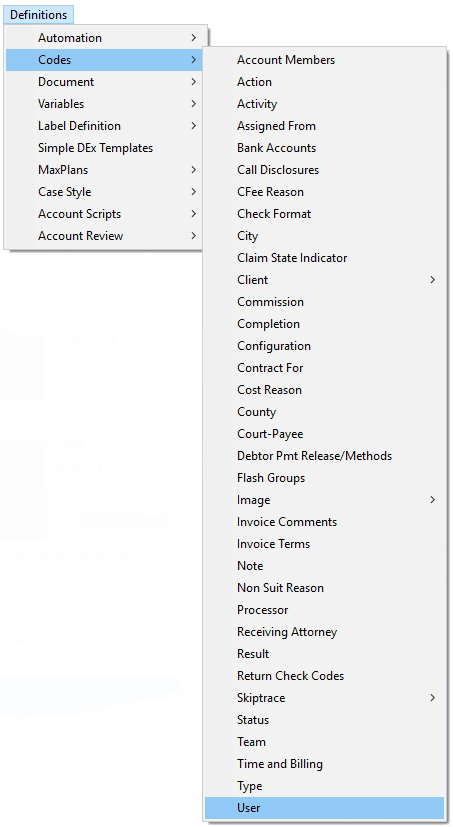
1. From the menu bar of CollectMax, select Definitions, Codes, User from the pop-up menus.
2. The User Code Screen will be displayed.

3.
Click
the  button to bring up the Add
User Code Screen.
button to bring up the Add
User Code Screen.
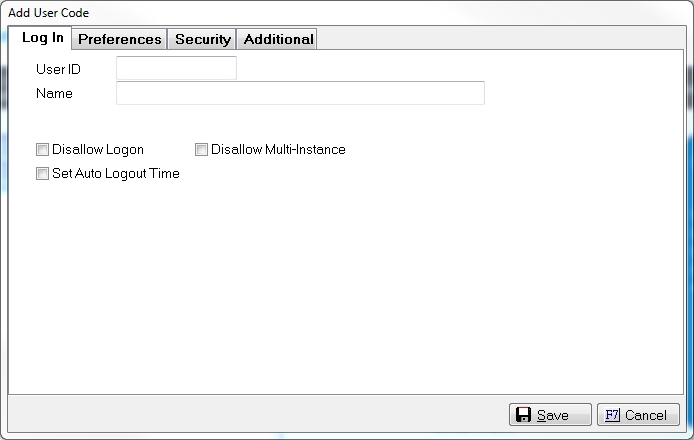
4. On the Log In Tab, tab to or Click in the User ID field. Type in a 3 Character Code. Usually, this would be the Users Initials.
5. Tab to Click in the Name field. Type in the full name of the user.
Note: Users will be prompted to enter their personal passwords when they login for the first time.
6. To set Log In Options, check the box next to the options needed.

Disallow Logon: check this box if to stop the user from being able to login into CollectMax with this code.
Disallow Multi-Instance: check this box to stop the user from running multiple copies of CollectMax at the same time on the same Workstation.
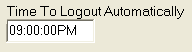
Set Auto Logoff Time: check this box to set a time that CollectMax will automatically shut down. A Time to Logout will be displayed. Enter the time in HH:MM:SS AM/PM format.
Note: User will be logged out at the time selected unless they are running a long process. Logout time should be adjusted if the users schedule changes.
7. Select the Preferences Tab.
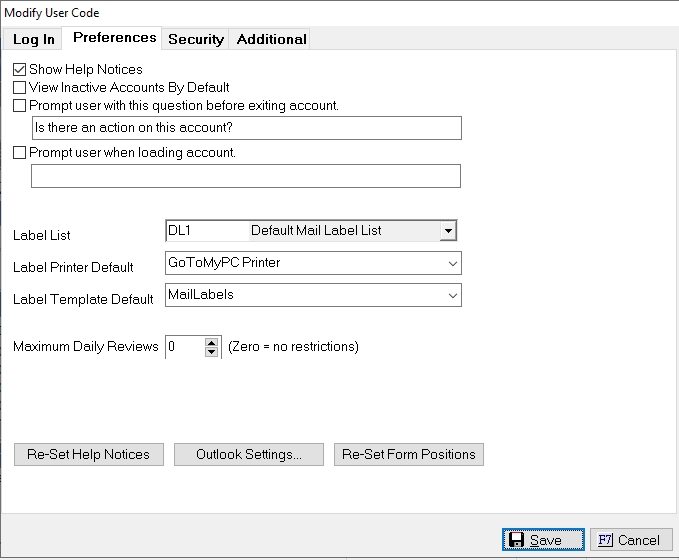
8.
Help
Notices: Show Help Notices are always set to be displayed. This
allows help tips to be displayed in the lower right corner of the CollectMax
screen where available. To turn this option off, click the  button.
9. View Inactive Accounts: Check this box if the user needs to always see the inactive accounts in the Account Find Screen.
10. Prompt User:Check the boxe for and enter a comment in the blank field to be displayed
when a users exits an account. For
Example: Did
you remember to add an action to this account? or
Did you remember to change the status?
11.. Prompt User on Loading: See Account Access User Prompt for information on this, Version 7 Features.
12. Label Preferences: Select the users proper Label List, Label Printer Default and Label Template Default. See Setting up a label template & user preferences for instructions in setting up these options.
13. Maximum Daily Reviews: The ability to set the number of Daily Reviews has been added in Version 10. See Review Limits by User Code. For more information, please contact our Sales Department.
14. Select the Security Tab.

15.
Select the appropriate Team from the  list. See
System Security for information on teams
and security options.
list. See
System Security for information on teams
and security options.
16.
Supervisor:
If this
user should be a supervisor, check the box. This
box will only be available for modification if the user adding the code
is a supervisor.
17.
Allow
Security Modifications: If
this user should be allowed to modify security rights, check the box. This
box will only be available for modification if the user adding the code
is a supervisor.
18.
Record
Login and Logout Events: This
will record when this user logs in and logs out in the User Login Information
section of CollectMax. Check
the box to record these events. See MaxSecurity for the ability to get reports of these events.
19. Disallow
History Note Modifications: Check
the box to keep this user from modifying other users
history notes.
20. Disallow Manual Modification of other Users Actions: Check the box to keep this user from modifying any other action but the actions they are responsible for.
21.Disallow
Manually Closing Accounts: Check the box to keep
this user from manually closing accounts. This
will not apply to Batch processes or Letters.
22. Disallow Clearing of the DNC settings: Check the boxes next to the settings you would like to keep the user from updating.
Do Not Contact
Do Not Call
Do Not Mail
Cease and Desist
23. Allow to Unmask PII (Personal Identifying Information) data on Reports: Check the box to print reports without Masking of PII data such as Reference or Social Security Numbers.
24. Disallow Manually Re-Opening Accounts: Check the box to not allow the user to reopen accounts manually by changing the status.
Note: This will not limit the users ability to update status codes by Batch Process, Letter, Interfaces or other mass account processes or automated processes.
25. Disallow Access to Closed Accounts: Check this box to not allow the user to access closed accounts. * This is a Version 8 Feature. See Closed Account Access Restriction.
26. Select the Additional Tab.
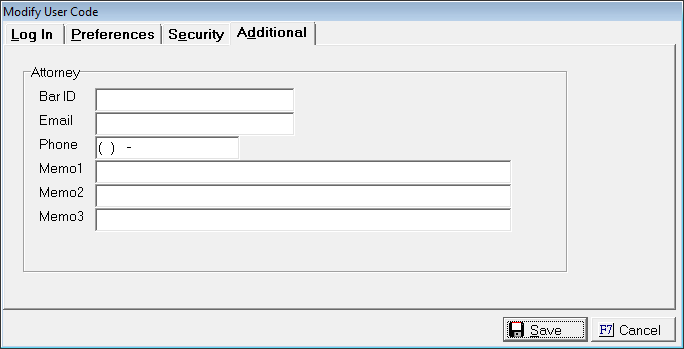
27. Enter the user's Bar ID.
28. Enter the users email address.
29. Enter the users phone number.
30. Enter any notes in the 3 Memo Fields.
31. Click the  button to add the user code.