The You've Got Claims Interface allows you to separately upload the payment and cost transaction information to your forwarders.
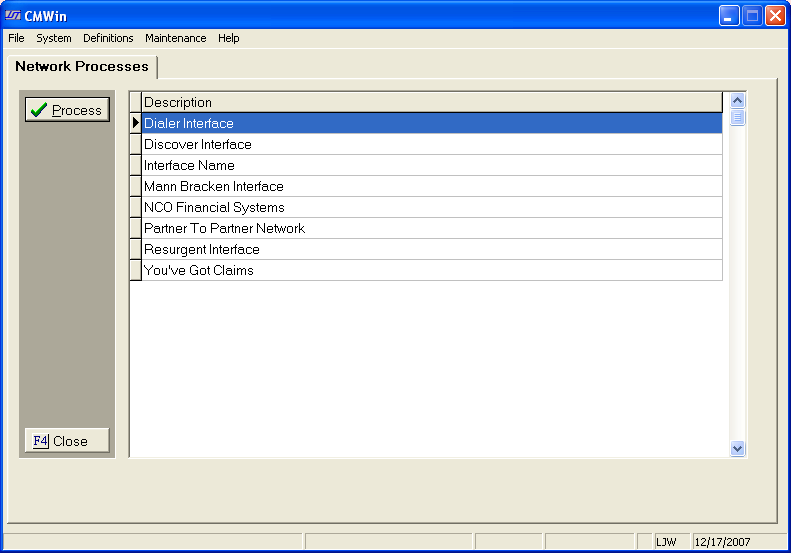
From the Network Processes screen, click and select the You've Got Claims network.
Double-Click
on the YGC selection or Click the  button
to open the interface and display the Download Tab. Click the
button
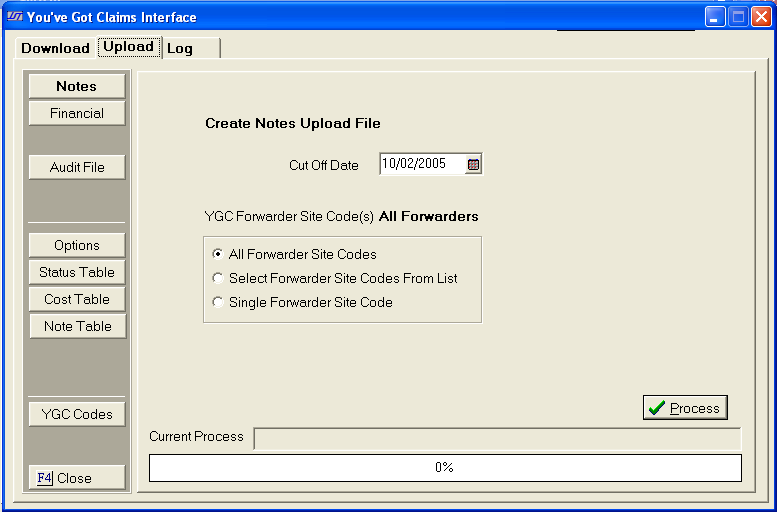
to open the interface and display the Download Tab. Click the ![]() tab.
The
Upload Notes Screen will be displayed.
tab.
The
Upload Notes Screen will be displayed.
The YGC Interface only uploads payments, costs, return checks and payment reversals and cost reversals. The upload process will create a separate file for each forwarder/firm ID combination.
For Example: If uploading payments on 3 accounts that have the Forwarder ID of VA8 and the firm ID of 1234 only one file will be created. If the 3 accounts have different firm ids, then 3 separate files will be created.
Click the
![]() button to display the Create Financial Upload File Screen.
button to display the Create Financial Upload File Screen.
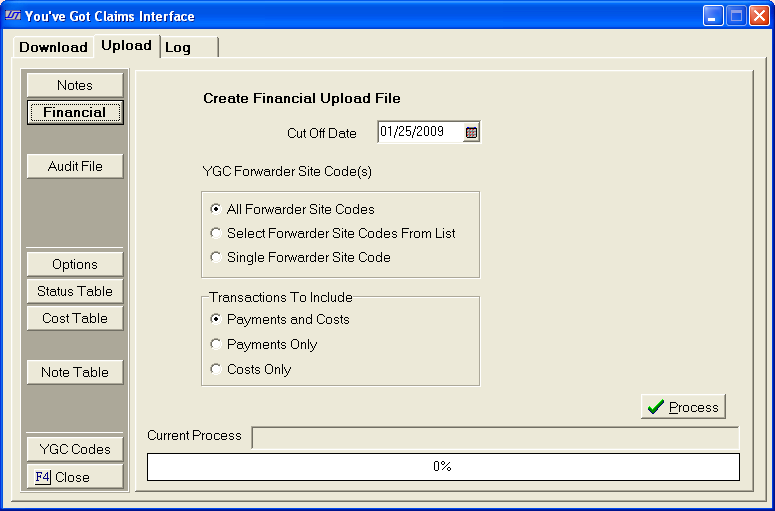
Select the
Cut Off Date by typing in a date in the MM/DD/YYYY
format or using the ![]() button. Financial
transactions posted/released through the selected date that have not already
been uploaded will be included in this upload file.
button. Financial
transactions posted/released through the selected date that have not already
been uploaded will be included in this upload file.
Next, select the Forwarders to include in this upload file. Typically, all forward codes are selected.
Next, select the type of transaction to upload. Typically all Payment and Cost transactions are selected for upload.
Click the
 button next to the correct selection.
To create
a financial upload file for selected forwarders, click the button next to Select Forwarder Codes from the List. The
YGC Forwarder Code List Selection screen will be displayed.
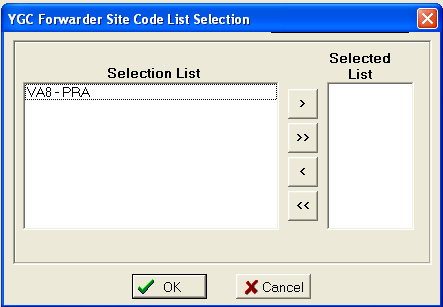
From the
list of available, click to highlight the Forwarders to include in the
upload, then click the  button to move the code into the
selected list. Continue
until all needed forwarders are added. Then,
click the
button to move the code into the
selected list. Continue
until all needed forwarders are added. Then,
click the ![]() button to exit this screen.
button to exit this screen.

To make changes,
click the ![]() button.
button.
To create
a financial upload file for a single forwarder, click the button next to Single Forwarder Code. A
pick list will displayed.
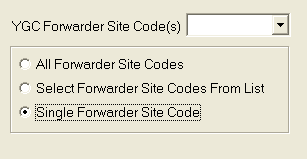
Click the
 button and select the forwarder from the list.
Once the
Forwarder(s)
have been selected click the button,
select to print to
printer, screen or file. JST
always recommends printing to screen. The upload report will be
printed.
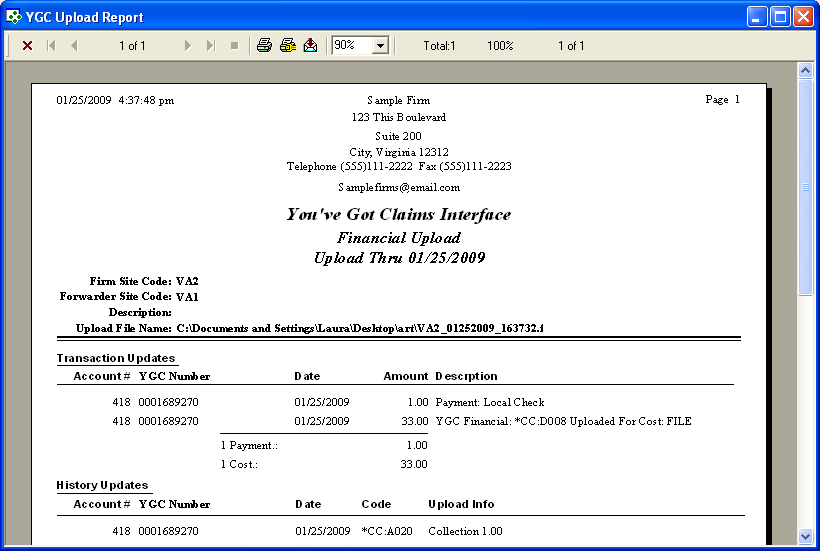
A complete report will be created for each Forwarder/Firm ID combination listing the name of the upload file created for each report.
There is only one upload report during the preview process. The final process does not create a report. If you need a printed report, remember to print the preview.
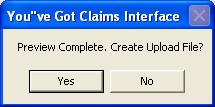
Once this is complete a message will asked users if they would like to create a file upload files.
Note: If printing the report to screen, the report must be closed to continue the download process.
Click the
![]() if the upload report did not list the proper upload notes.
Users may preview the upload file as many times as they like before creating
a upload file.
if the upload report did not list the proper upload notes.
Users may preview the upload file as many times as they like before creating
a upload file.
Click the
![]() button,
to continue the upload process and create an upload file for the client.
The amount
of upload data will determine how fast this process will go. Users
are provided a status bar to monitor the upload progress.
button,
to continue the upload process and create an upload file for the client.
The amount
of upload data will determine how fast this process will go. Users
are provided a status bar to monitor the upload progress.
The final upload process will create the upload files in the upload data directory and a backup file in the backup data directory. The upload report will contain the names and locations of the files.
Once the file generation process has completed a list of all files created will be displayed.
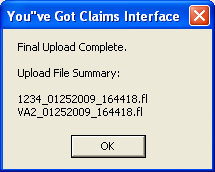
After making
note of the files that were created, click the  button.
Note: The interface creates the files but it is your responsibility to transfer he files to You've Got Claims using your Mailman Account.