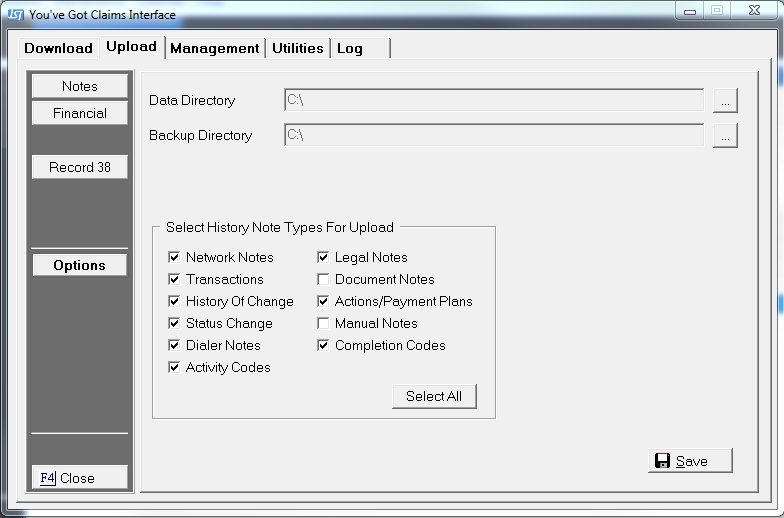
A data directory and a backup data directory should be added to the users internal office network. JST Technical Support will setup the initial directories for you when installing the interface. These directories maybe changed if needed.
From the
![]() tab,
click the
tab,
click the ![]() button. This
will take you to the upload options screen.
button. This
will take you to the upload options screen.
To select data directory,
Click the
 browse
button. This
will bring up a Browse for Folder window.
browse
button. This
will bring up a Browse for Folder window.
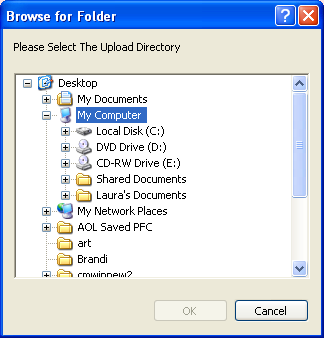
Find the
data directory on the network and click the  button.
To select a backup data directory,
Click the
browse
button. This
will bring up a Browse for Folder window.
Find
the backup data directory on the network and click the button.
The data directory and the backup data directory must be separate directories on the network.
Then click
the  button to save the download options.
JST Technical Support will setup the interface with the correct note types for upload.
Note:
Adding additional check marks in this box will not necessarily upload
that type of information. However
deleting a check on a required box will stop the upload on that type of
data and make it difficult to tell what is pending upload when view an
accounts history