CollectMax allows you to search through images to find a list of images that meet certain selection criteria. These images can then be exported to a selected directory. On export, you can select to create a custom naming convention or keep the name used by the imaging feature.
The search feature also allows you to take a excel list of accounts and find the images based on image type. These images can then be exported and custom named as well.
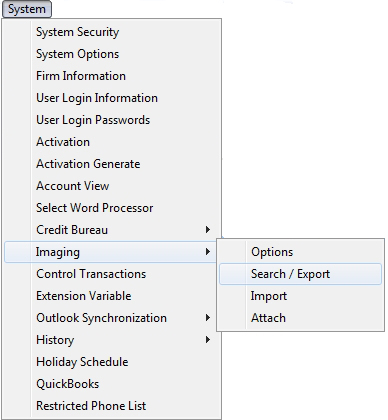
From the Menu Bar of CollectMax, click the System, Imaging and Search.
The Imaging Search Screen will be displayed.

Select to search by the following criteria either:
 list. All
images added by that user will be displayed.
list. All
images added by that user will be displayed. Once all selection criteria has been entered, click the  button. Once all images have been found within that selection criteria have been located a list of all images will be displayed.
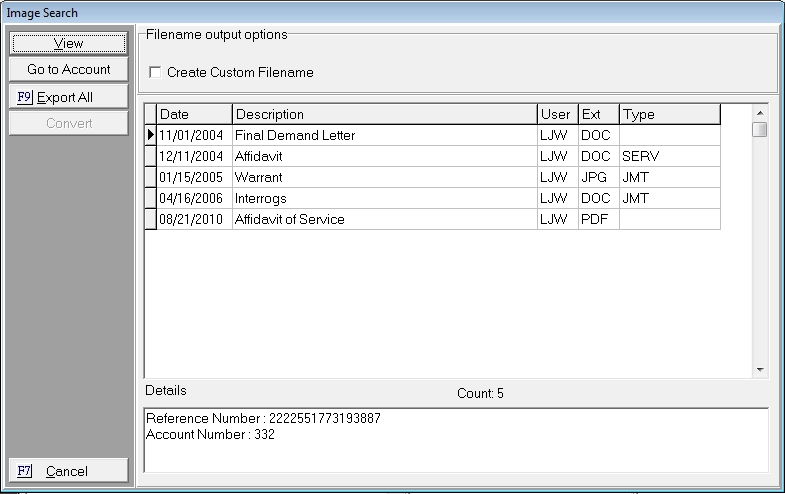
The list of images will include the Date Imaged, the short Image Description, the operator/user who scanned or imported the image, the Microsoft file extension, and the image type code. For each selected image, the details will show the account number and the reference number. The reference number will be the reference number for the claim that the operator was aligned to when the image was scanned or imported.
To view an image, select the image in the list and click the  button. The image will be displayed either by the CollectMax Default Viewer, Word, Word Perfect or the default software program chosen to open such images. Once viewing is complete, minimize or close the viewing program to see the Image Search Screen again.
To view the account attached to an image, select the image and click the  button. Once you click the button, you will be taken directly to that account and out of the image search section. To view the list again, you will have to rerun the search.
For information on an Image Export Report, See Image Export Report, a Version 7 Feature.
To export the images in the list, click the  button or the F9 function key. A warning message will be displayed.
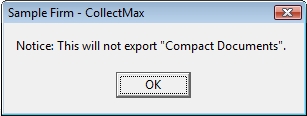
This is warning that no Compact Documents will be exported. Compact Documents are documents that have been imaged via a batch process or a process that images multiple images at the same time.
If you are unsure if any Compact Documents are listed in your search, look at the EXT column of the list. Compact Documents will have a blank EXT. If your list has any images without an extension, you have found compact documents that cannot be exported. See the Convert Image Section for information on how to convert the Compact Documents.
If you have no Compact Documents or are okay with them not being exported, click the  button. A message will be displayed confirming that you would like to Export All Images.
If you agree and continue the export, click the  button. If you disagree or to stop the export, click the
  button and go back to the Image Search Screen.
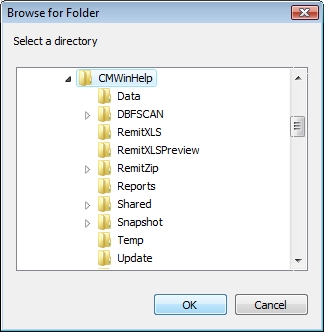
Select the Directory on the Network to save your images and click the  button. Once the images have been exported, a confirmation message will be displayed.

Click the button. If all images were exported to the file, the Image Search Screen will be displayed. If there were images that were unable to be exported and error message will be displayed.
Click the button to exit the message. The export process will create a error log file named ImageExportErrors.txt in the Client location of CollectMax. This is typically c:\program files\js technologies\cmwin. The error log will list the documents that were not exported and a brief description of why they could not be exported.
All Exported Images will be in the selected Network Directory. The Image Name will be the Document Management ID which is a combination of the account number and imaged date and time. To customize the name of the exported images, See the Custom File Naming section.
The Image Search Feature allows you to convert select images to PDF and Compact Documents to Normal Images.
The Imaging Search feature allows you to convert all Compact Documents to Normal Documents. Compact Documents are Images of Documents that have been imaged through a batch type process and are denoted in the list of images by no extension in the EXT column. These Images cannot be exported.
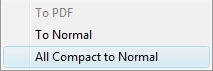
To Convert the Compact Documents to Normal, click the  button and select Convert All Compact to Normal from the list.
The process will give you a confirmation message.
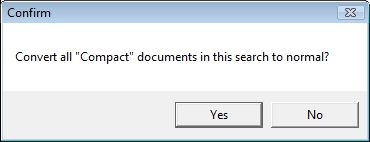
If you agree to convert the images and continue, click the button. If you disagree or to stop, click the button. If you agreed, the process will attempt to convert all compact documents to normal. Once the process is complete, you will be able to export these documents.
You can also convert single images, by selecting the image and clicking the button. Select To Normal from the list.
The process will give you a confirmation message.
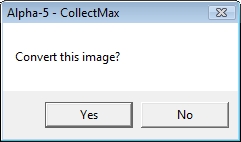
If you agree to convert the image and continue, click the button. If you disagree or to stop, click the button. If you agreed, the process will attempt to convert the image to a normal image. Once the process is complete, you will be able to export this image.
You can also convert select image types to a Adobe Acrobat PDF format. Only true image file types and Word Perfect Documents can be converted to PDF. Select the image to be converted, click the button and select To PDF from the list.
The process will give you a confirmation message.
If you agree to convert the image and continue, click the button. If you disagree or to stop, click the button. If you agreed, the process will attempt to convert the image to a normal image. Once the process is complete, you will be able to export this image.
The Image Search Feature exports images to a selected directory location on your network. Each image creates a file in that directory. The files will be named with the Document Management ID which is a combination of the account number and the imaged date and time. The Custom File Naming feature allows you to give your images a naming convention for the exported files.
To use a custom file name, check the box next to Create Custom Filename in the Filename output options section of the Image Search Screen.

A Filename field will be displayed. Click the  button to display the Variable Custom Text Editor Screen.
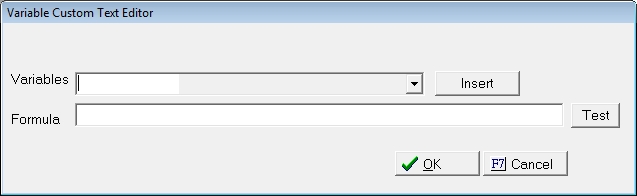
Create a Formula for the File name. You can insert variables from the list of available variables or enter text to be used to for the file name.
For Example:
If you would like the file name to export as the account number_jmtdocs_Debtor Name, your formula should look like this:
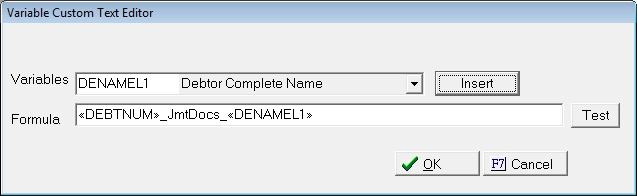
Once your file name is complete, click the  button. A custom file name is not required. If you choose to export the images without a custom file name , the images will be exported with the system generated file name.