 button.
 1.
From the
main screen of CollectMax, click the button.
2.
Select
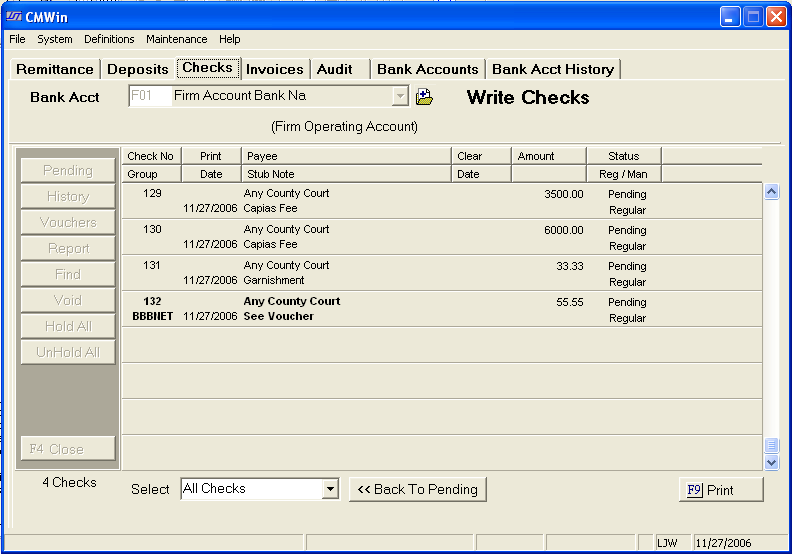
the ![]() tab. The
Pending Checks screen will be
displayed.
tab. The
Pending Checks screen will be
displayed.
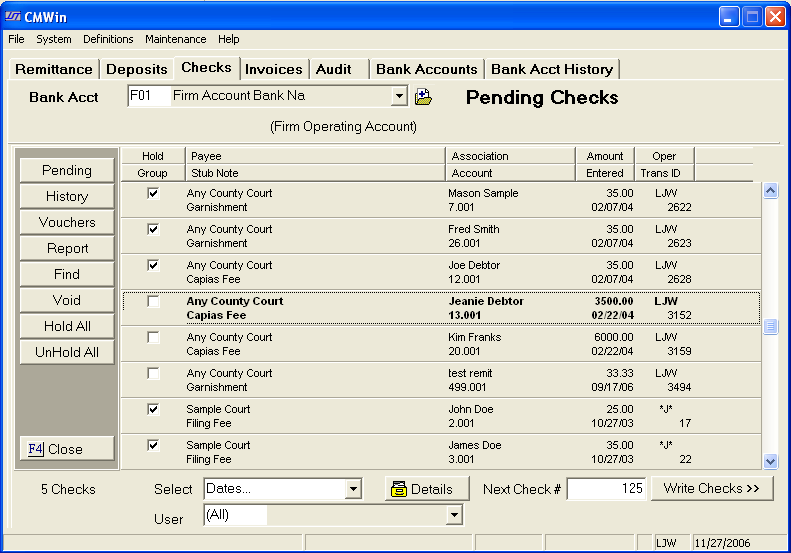
This screen will list a summary of all pending check items for a selected account with an item count listed at the bottom.
3.
To select
the Bank Account, click the ![]() button and select from the
list of accounts.
button and select from the
list of accounts.
![]()
All pending checks for this account will be displayed.
4. To narrow down the listed checks, select the check type to be viewed and/or printed.
![]()
By default
all checks are selected. Users
may select only the following by clicking the ![]() button:
button:
5. Select the to narrow the checks to be displayed by the user who requested the check.
![]()
Click the
![]() button and select the user code from the list.
button and select the user code from the list.
This is a Version 4 Feature. For information on obtaining this or another feature, please contact the Sales Department.
6.
To find a pending checks, click the ![]() button and select
from the menu. Checks
can be found by transaction id number, payee, amount or date range.
button and select
from the menu. Checks
can be found by transaction id number, payee, amount or date range.

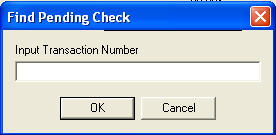
Type in the transaction id to find the pending check entry. The transaction id can be found in the debtors history on the corresponding transaction entry.

Enter the payee name or partial name to find all pending checks with this payee.

Enter the amount of the check to find all pending checks for the entered amount.
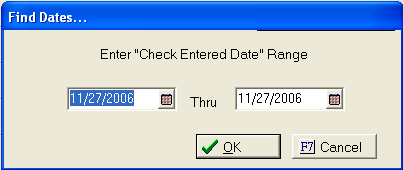
Enter the date range of the check to be found.
To find
a check on a certain date, enter the that date in the first and last date
box. Click
the ![]() button to list all pending checks requested on that
date or date range.
button to list all pending checks requested on that
date or date range.
7.
Click the ![]() button to list all pending checks. See Pending Checks
Report.
button to list all pending checks. See Pending Checks
Report.
8.
To get
more details on a pending check, click on the section that list the check
to make it bold. Then,
click the ![]() button to display the Check Edit Details.
button to display the Check Edit Details.
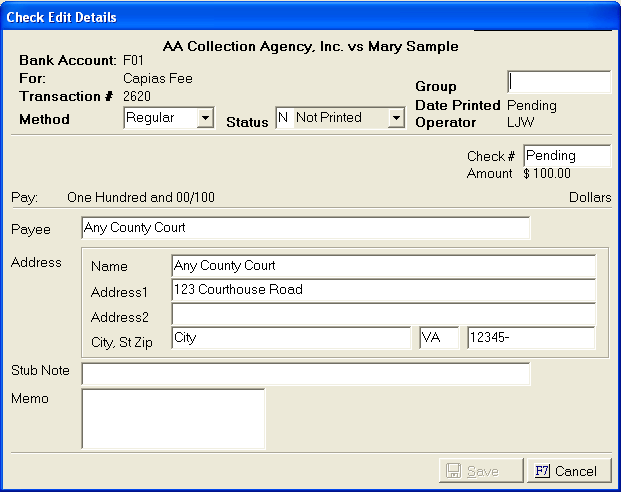
From this screen, users may
Click the
 button to save any changes.
9.
Checks can held to be printed at another time. To
hold a check, click in the  box next to the check entry on
the pending checks screen.
box next to the check entry on
the pending checks screen.
10. To print the checks, enter the next check number into the next check field.
![]() . Then
click the
. Then
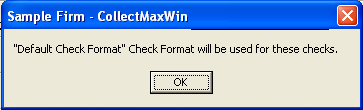
click the ![]() button. The
Check Format Screen will be displayed.
button. The
Check Format Screen will be displayed.
Note: Converted DOS Users may use the check stock required for the DOS system. See Check Stock Ordering.
11.
To continue, click
the  button and the write checks screen.
A list of the checks with check numbers along with the numbers of checks to be printed will be displayed . All grouped checks will be displayed as a single entry.
12.
Please review the list. If the list of checks is incorrect, click the
![]() button to display the pending checks screen and refine
the selection.
button to display the pending checks screen and refine
the selection.
13.
Next, if all looks correct, click the ![]() button. Choose
to print to screen, file or printer.
button. Choose
to print to screen, file or printer.
Note: CollectMax does not recognize printing to screen as actually printing the check. Checks must be printed to file or printer to move the checks to check history.
14. Once the checks are printed. A message box will appear asking if everything printed okay.

Please verify the checks have printed correctly.
15.
If one or all the checks did not print properly, click the ![]() button to display the Not Printed Correctly Screen.
button to display the Not Printed Correctly Screen.
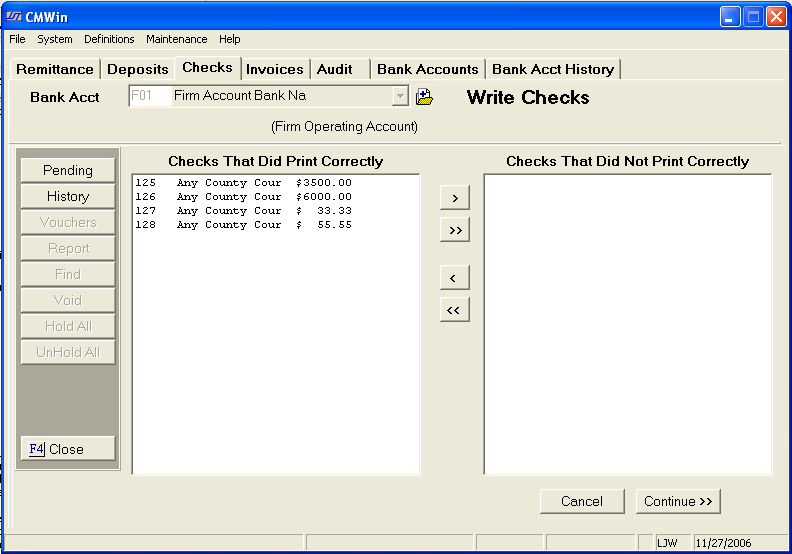
16.
Move all checks that did not print correctly to the right side. To
move a single check, highlight the item and click the  button
to move the item to the Not Printed Correctly list. Click
the
button
to move the item to the Not Printed Correctly list. Click
the ![]() button to move all items to the Not Printed Correctly
list. . If
an item or items needs to be removed from the Not Printed Correctly list,
click the opposite arrow buttons.
button to move all items to the Not Printed Correctly
list. . If
an item or items needs to be removed from the Not Printed Correctly list,
click the opposite arrow buttons.
17.
Select the ![]() button to move the incorrect checks back to pending
to start the process again and be reprinted. Any
checks that had been printed correctly will be moved to the check history
as printed.
button to move the incorrect checks back to pending
to start the process again and be reprinted. Any
checks that had been printed correctly will be moved to the check history
as printed.
All checks that printed incorrectly will also be listed in the History but as a print-failed check.
18.
If all printed okay, then click the ![]() button. The
checks will be moved to the check history.
button. The
checks will be moved to the check history.
19. If any of the checks printed were grouped checks, a pending Voucher message box will be displayed. This message box serves as a reminder to print the voucher.
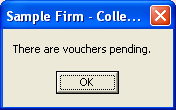
20.
Click the button to continue.
21.
To print the voucher, from the pending checks screen, click the ![]() button. Select
to print to printer, screen. A
voucher report will be created.
button. Select
to print to printer, screen. A
voucher report will be created.
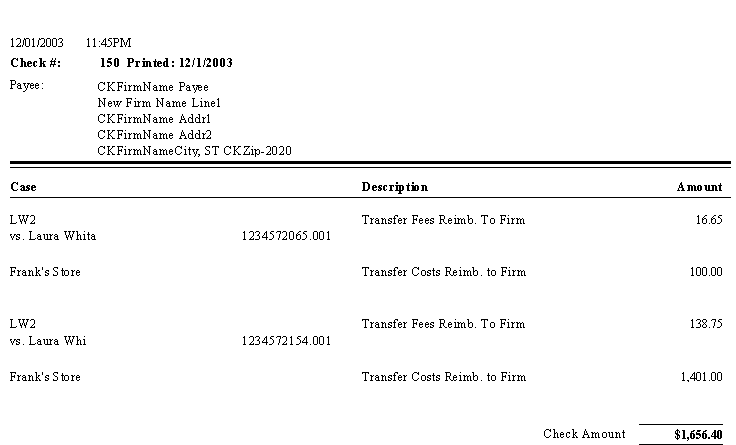
Note: Vouchers must be printed prior to the checks appearing on the reconciliation screen.
22. After reviewing and/or printing, click the X to exit.
23. To exit back to the main screen of CollectMax
from the Checks, click the  button.