
A fully printed court form will print the court form as well as the merge fields. Typically, the form is scanned and saved as a bitmap (.bmp) image or sometimes the form is available from the court in portable document format (.pdf). Please contact the courts in your area to check availability. PDF images must be converted to a bitmap image by using the Adobe Acrobat program. If using a scanner, scan the court form and save as a bitmap.
From the menu bar in CollectMax,
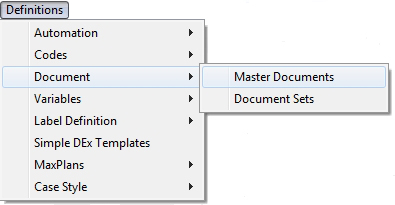
click  and select Document, Master Documents from the menu.
Click the
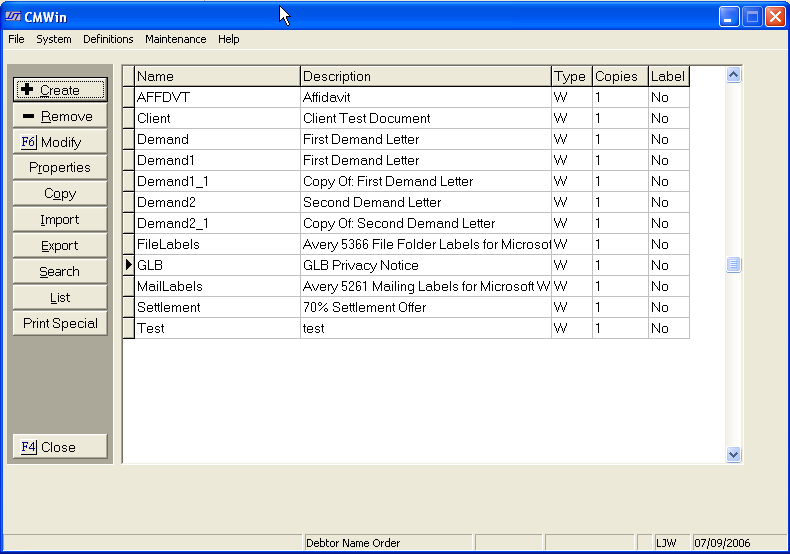
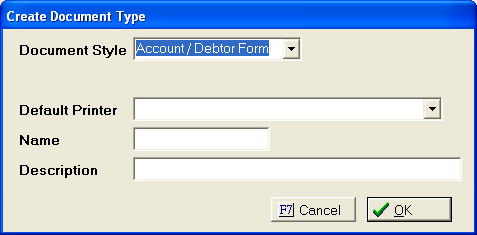
![]() button to bring up the Create Document Type Window.
button to bring up the Create Document Type Window.
Select the
Document Style from the  list.
list.
Select the Default Printer.
Give the court form a code Name.
Note: The Name should not include any slashes, quotes or special characters.
Give a Description of the document.
Click the
 button to run Word Perfect.
On the main menu bar of Word Perfect,

Select File, then Page Setup to display the page setup screen.

Select Landscape
from the Orientation Section. Then
select the minimum margins button. Click
the button.
From the
menu bar, select ![]() and
Object from the pop-up menu.
and
Object from the pop-up menu.
A browse window will be displayed.

Browse to find the image saved on the network. Highlight it. Click the Open button.
Then click
the button to insert the image into Word Perfect.

The inserted image may not cover the entire page. If so, click on the n in the corners and stretch the image to fit the page.
Right click on the image to get the pop-up menu. Select Wrap.
The Wrap Text window will be displayed.

Select Behind
Text by clicking the  button next to your selection. Click
the button to continue.
button next to your selection. Click
the button to continue.
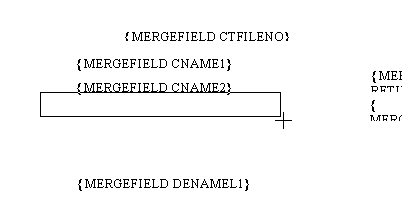
Once the image is the correct size and behind the text, begin to insert the variables.
A pre-printed court form will print only the merge fields. These are typically used when the court provides the form and the user only needs to fill in the blanks on the court form.
From the menu bar in CollectMax,
click and select Document, Master Documents from the menu.
Click the
![]() button to bring up the Create Document Type Window.
button to bring up the Create Document Type Window.

Select the
Document Style from the list.
Select the Default Printer.
Give the court form a code Name.
Note: The Name should not include any slashes, quotes or special characters.
Give a Description of the document.
Click the  button
to run Word.
button
to run Word.
In Word, select Insert from the Menu Bar.
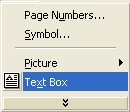
Select Text Box from the pop-up menu.
A + will appear on the form. Using the mouse, put the + approximately where the text box should be. Holding down the left mouse button stretch the box to the desired length.
Once the text box is added,
![]()
Click on the ///// line to format the text box.
![]()
Right click the dotted line with the right mouse button. A pop-up menu will appear.
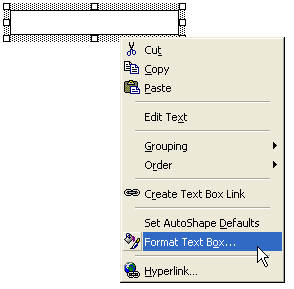
Select Format Text Box. The Formatting window will appear.
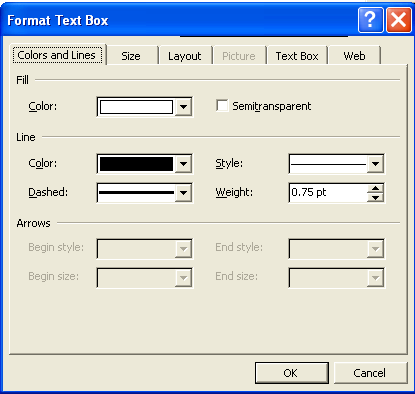
On the ![]() tab, select No Fill from the list
in the Fill section.
tab, select No Fill from the list
in the Fill section.

And select No Line from the Line Section.

Next, select the ![]() tab. On
the text box screen,
tab. On
the text box screen,

Set all margins to 0 either by typing in each box or using the down arrows.
Click the button to exit the
formatting screen and save the changes.
Click the ![]() button to display
the variable list,
button to display
the variable list,

Select the variable to be inserted, click
the ![]() button.
button.
Note: If the variable is not available, you may be able to add a document variable including formula variables. See: Document Variable Formatting.
![]()
Highlight the variable and select the proper font and then align the variable by using the arrow keys on the keyboard.
Use the arrow keys on the keyboard to move the text box into the proper position.
Note: Use the ctrl key with the arrow keys to nudge the textbox a little.
Once all
the variables have been added to the document, click the ![]() button to save the document.
button to save the document.
To get the pre-printed form to print properly from a dot matrix printer, see Setup Court Forms to Print with Dot Matrix Printers.