 .
.The Payment History, Check History, and Pending Checks Report have been updated to allow you to export directly to Excel.
This is a Version 6 Feature. For information on obtaining this or any other features, please contact the Sales Department
1.
Go
to .
2.
Select the  tab.
tab.
3. Select the Payment History Report.
4. Select your Clientcriteria.
5. Select your User Code selection
6. If you want the reference number check the box for “Show Reference Number” .
7. If you want to include inactive accounts check the box for “Include Inactive Accounts”.
8. Select your report format. The available options are Summary and Detail.
9. Seletyour Grouping options. The available options are Client, Responsible, User Field.
10. Select your Status Code.
11. Select your Open Date Range.
12. Select your Payment Date Range.
13. Select your Payment Release options.
14. Select your Payment Amount Range.
15. After selecting your report options.
16. Select ![]() .
.
17. Select the excel option.
18. The following screen will pull up.

19. Then select ![]() .
.
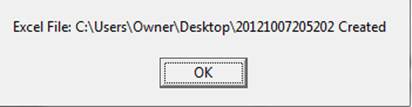
20. If your report was exported correctly, you will get the following pop up.
21. Then pull up the report in excel.
![]()
1.
From the Main Menu of CollectMax, click the  button.
2.
Select the ![]() tab.
tab.
3. Select the appropriate bank by selecting the drop down.
![]()
4.
Click on the  .
.
5.
Click on the  button.
6. Select your Check Types by selecting the appropriate check boxes.

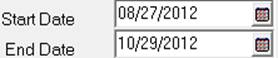
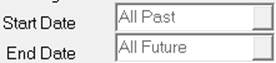
7. Put in your date ranges Start and End Date.
8.
Select
the ![]() button and the output to Excel. This pop up should
pull up.
button and the output to Excel. This pop up should
pull up.

9.
Then select ![]() .
.
10. If your report was exported correctly, you will get the following pop up.

11. Then pull up the report in excel.
1.From the Main Menu of
CollectMax, click the ![]() button.
button.
2. Select
the ![]() tab.
tab.
3. Select the appropriate bank by selecting the drop down.

4. Click
on the ![]() button.
button.
5. Click
on the ![]() button.
button.
6. Select your Check Types by selecting the appropriate check boxes.
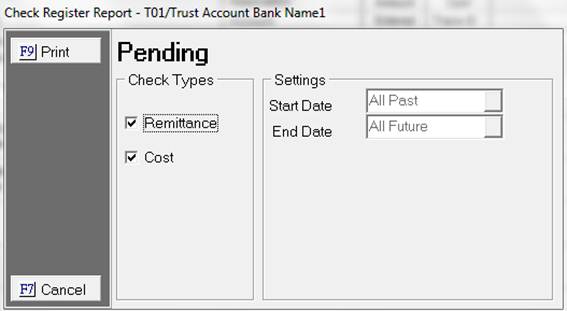
7. Put in your date ranges Start and End Date.
8. Select the ![]() button and the output to Excel. This pop up
should pull up.
button and the output to Excel. This pop up
should pull up.

9. Then select ![]() .
.
If your report was exported correctly, you will get the following pop up.
10. Then pull up the report in excel.