Click the
 button.
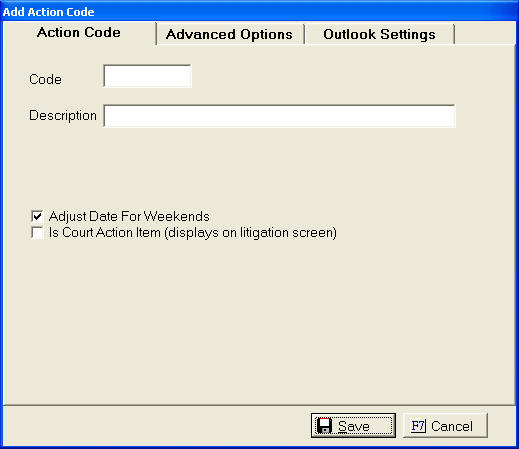
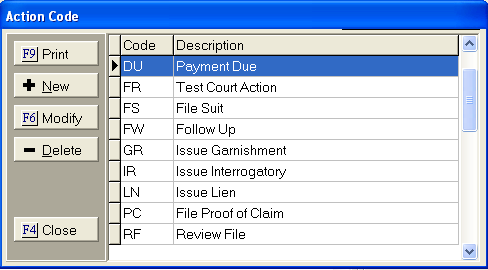
Enter a code for your new action code in the Code field. This code can be up to 4 characters in length.
Type a Description for your new action code in the Description field.
Click the
![]() box next to Adjust Date For Weekends, to have the action
self adjusted Delay Date to a week day.
box next to Adjust Date For Weekends, to have the action
self adjusted Delay Date to a week day.
Click the
![]() box next to Is a Court Action Item, to have this action
display on the Litigation Screen.
box next to Is a Court Action Item, to have this action
display on the Litigation Screen.
Click on the Advanced Options tab:
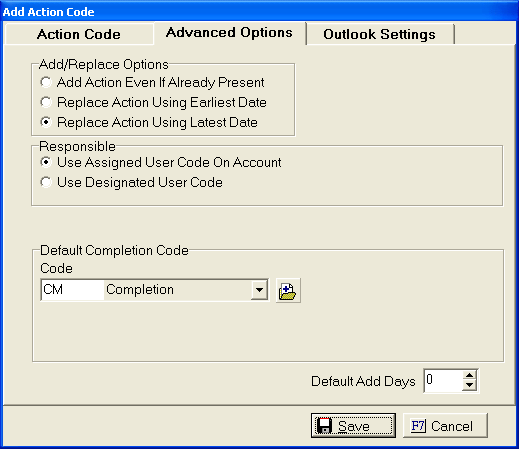
Select an Add/Replace Option:
There are three options that may be assigned to the action code. Only one option can be assigned. These options are selected using the radio buttons located in the Add/Replace Options area of the action code definition screens.
Select a Responsible Option:
Click the ![]() button next to the
proper selection. Only one option can be assigned.
button next to the
proper selection. Only one option can be assigned.
Selecting a Default Completion Code will
cause the action to be completed with this completion code when an operator
click the ![]() button when working an action.
button when working an action.
Click the ![]() button and select
the Completion Code from the list. Leaving
the Default Completion Code Blank will allow the operator to select the
appropriate code for completion.
button and select
the Completion Code from the list. Leaving
the Default Completion Code Blank will allow the operator to select the
appropriate code for completion.
Select a Default Number of Days to Delay the action. The Action Due date will be calculated using these number of day. This can be changed when adding an action manually.