 from the menu bar of CollectMax.
1.
Click from the menu bar of CollectMax.
2.
Select
 from the menu.
3.
Click the
![]() button.
button.
4.
Select
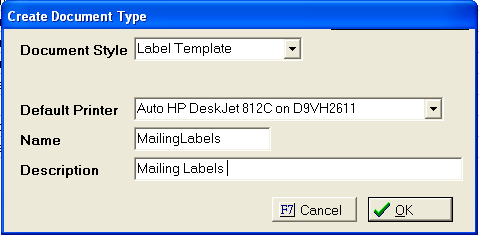
Document Style as LABEL TEMPLATE from
the  list.
list.
5.
Select
a DEFAULT PRINTER from the list.
6. Give document a NAME and DESCRIPTION. The Name should be a short code for the template. The description should describe what that code means.
Note: You should not put any slashes, quotes or special characters in the Name.

7.
Click the
![]() button.
button.
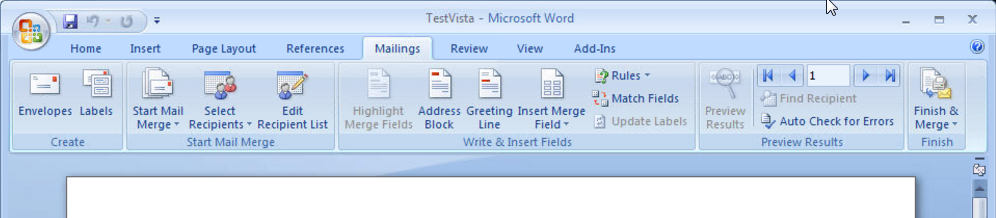
8. In Word, the mail merge header should be displayed.
If not ,
click the ![]() tab to display the mail merge tool bar.
tab to display the mail merge tool bar.
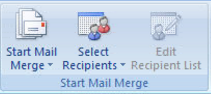
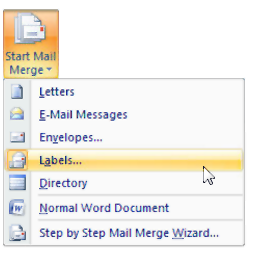
9.
Click the
 button in the Start Mail Merge section.
10. Select Labels from the list to display the Label Screen.
11. Select the Printer Information. Continuous-Feed printers do not work with CollectMax Labels. So, select the Page Printers. Next, select the Tray Options that work for the printer that will printing the labels.

13. Select the Label Vendor/Manufacturer and Product Number of the labels purchased to use with CollectMax.
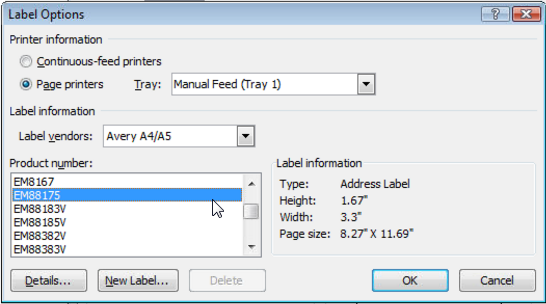
If the File
Label is not listed or a custom label is preferred or to customize the
existing label, click the ![]() button to display the Label Details
Screen.
button to display the Label Details
Screen.
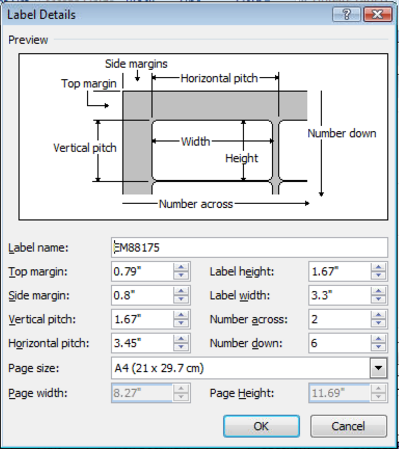
Select the
Label Name and adjust the margins. Click
the ![]() button to be taken back to the Label Options Screen.
button to be taken back to the Label Options Screen.
14.
Click the
![]() tab to display the mail merge tool bar.
tab to display the mail merge tool bar.
15.
From
the Start Mail Merge Section, click the  button.
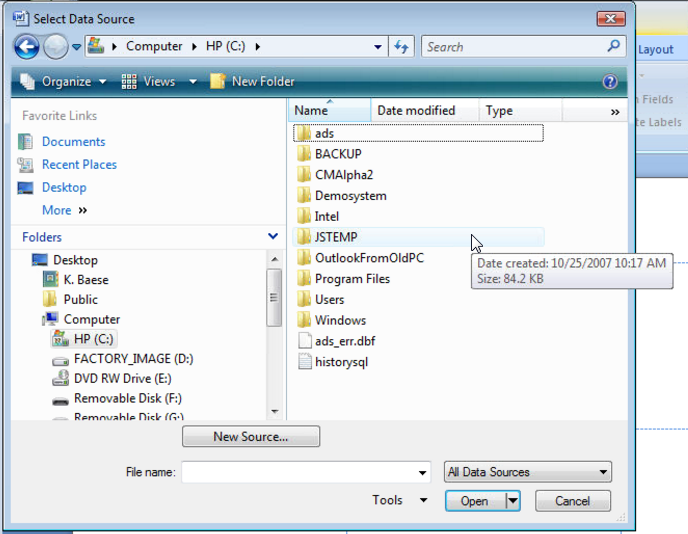
16. Select Use Existing List from the menu list.
![]()
17. In the Select Data Source Browse Window, Click My Computer or Computer. Find and double click the C: drive. On the right-side select the JSTEMP directory/folder.
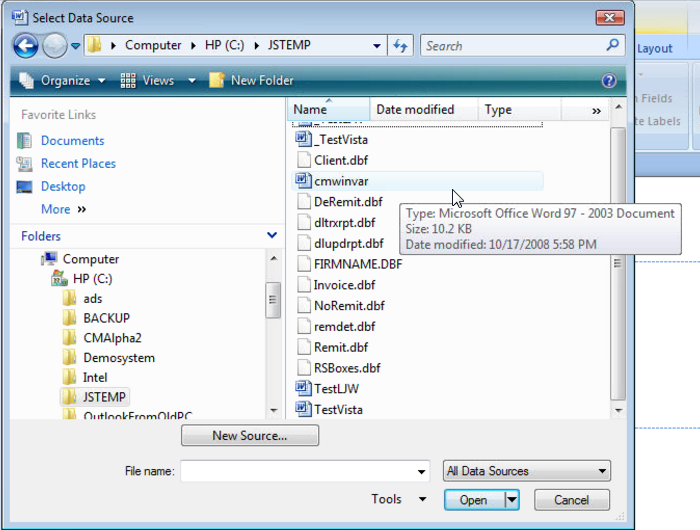
18.
Open the
JSTEMP directory/folder. Select
the CMWINVAR data source and click the ![]() button.
button.
19.
In the
Write & Insert Field Section, click the  button.
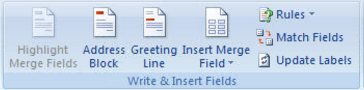
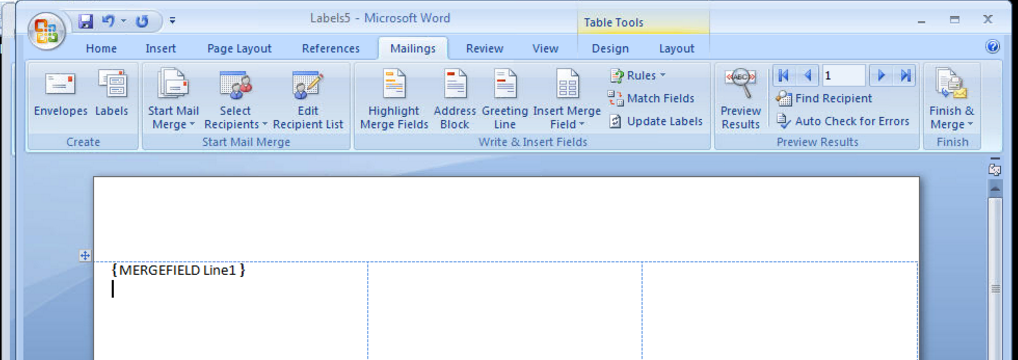
20. Click to Insert the merge fields. These merge fields will correspond to the label definition variables. Insert the Lines in order.
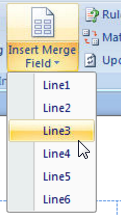
Once the first line is inserted, select the location of the second line by entering, tabbing or spacing. Enter as many lines as needed.
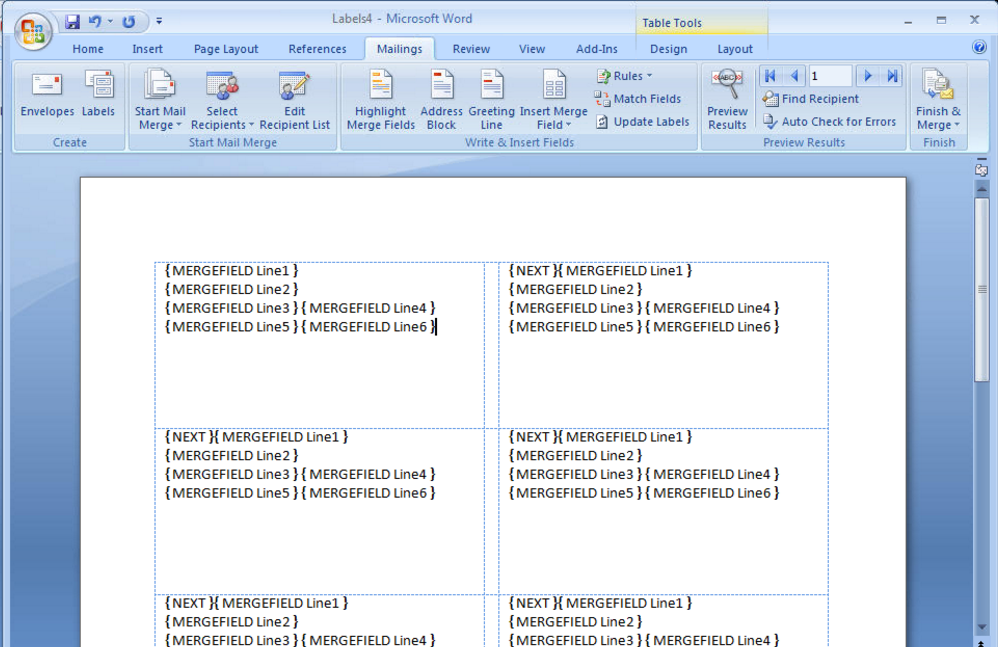
21.
Once all lines are entered and put in the proper location on the label,
click the ![]() button to insert the fields into all labels.
button to insert the fields into all labels.
22.
If the or ![]() are not available, click the
are not available, click the
 button and check the
 ![]() box to select the
first line in the recipients grid. Then
go back to step 22 or 23.
box to select the
first line in the recipients grid. Then
go back to step 22 or 23.
23.
Select the ![]() tab to display the JST buttons.
tab to display the JST buttons.
24.
Click the ![]() button to be taken back to CollectMax.
button to be taken back to CollectMax.
1.
Click  from the menu bar.
2. Select LABEL DEFINITION.
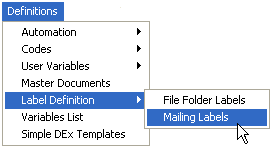
3. Select MAILING LABELS.
4.
Click the
![]() button.
button.
5. Enter a NAME & DESCRIPTION .
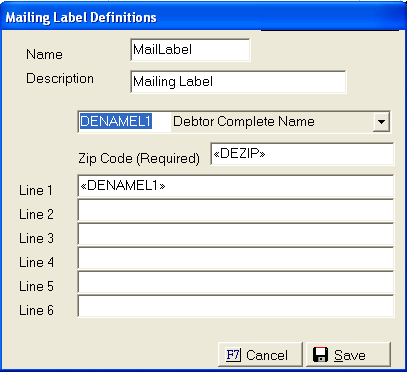
6. Click in Zip Code field.
7.
Select
the Zip Code variable from the list to insert in the Zip
Code field.
I.E. DEZIP
This is required to be able to sort by the zip code when printing.
8. Click in the Label Line 1 field.
9.
Select
the variable from the he list to insert in to the Line
1 field.
10. Repeat steps 6-7 for additional label lines.
11.
Click the
 button.
12.
Click the
 button.
See Also Generating a Mailing Label and Printing Mailing Labels
1.
In CollectMax,
click .
2.
Click ![]()
3.
Click ![]()
4.
Click the
 button.
5. Click PREFERENCES tab
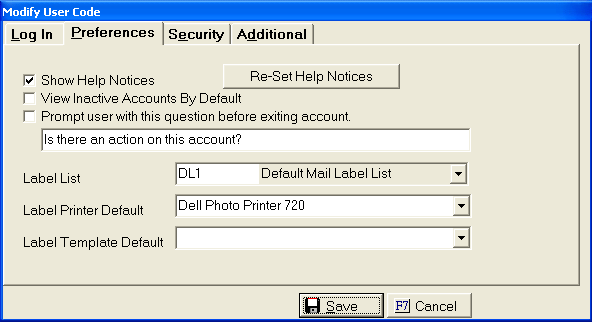
6. Select a LABEL QUEUE, PRINTER DEFAULT, and
DOCUMENT
DEFAULT from the lists.
7.
Click the
button.
8.
Repeat
steps 15-21 for each USER